Your Custom Text Here
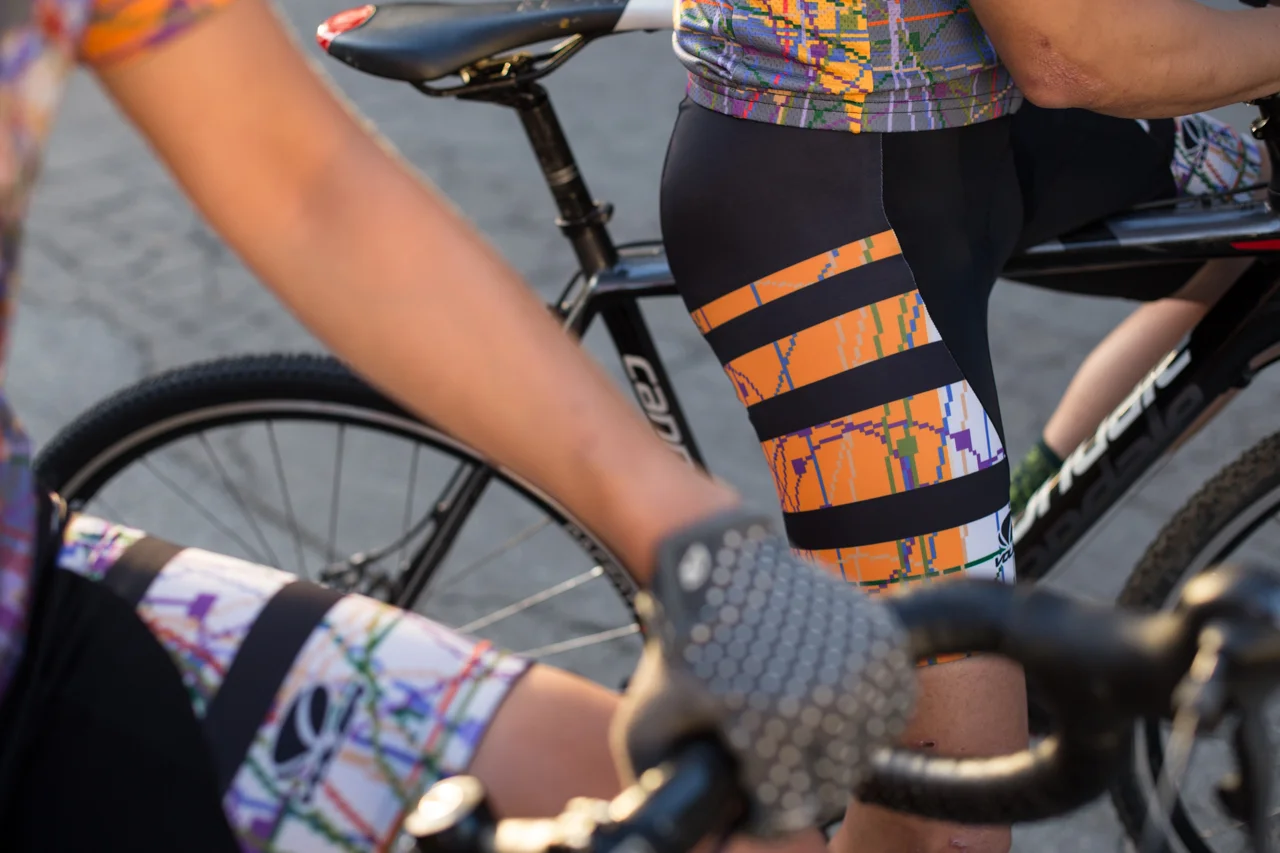
All photography by Derek Yarra
Get cool news about cool new tight stuff to wear.